Ledger.com/start | Set Up Your Ledger Hardware Wallet
Introduction to Ledger Hardware Wallet
Setting up a Ledger hardware wallet is a crucial step in securing your cryptocurrency assets. Ledger offers a robust and secure way to store your private keys offline, protecting them from online threats. This guide will walk you through the setup process using the official Ledger Live app, available at Ledger.com/start.
Step 1: Unboxing and Initial Setup
Once you receive your Ledger hardware wallet (such as the Ledger Nano S, Nano S Plus, or Nano X), unbox the device. Inside, you will find the hardware wallet, a USB cable, recovery sheets, and a quick start guide. Before proceeding, ensure that the box is sealed and hasn't been tampered with.
Connect the Ledger device to your computer using the provided USB cable. The device will power on automatically, displaying the Ledger logo. Follow the on-screen instructions to set up your device. You will be prompted to choose a PIN code, which will be required each time you access your Ledger wallet.
Step 2: Installing Ledger Live
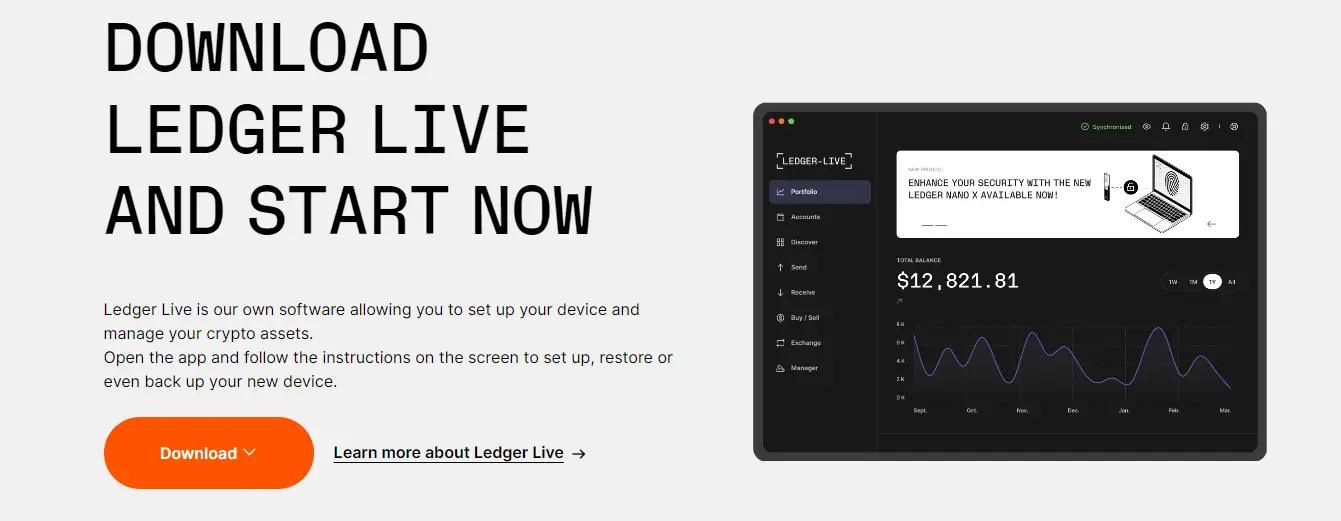
Ledger Live is the companion app that allows you to manage your cryptocurrency assets. Download Ledger Live from the official website Ledger.com/start and install it on your computer or smartphone. The app is available for Windows, macOS, Linux, iOS, and Android.
Once installed, open Ledger Live and follow the on-screen instructions to pair your hardware wallet with the app. During this process, you will be asked to set up a new device or restore an existing one using your recovery phrase. For a new setup, choose "Initialize as a new device."
Step 3: Backup Your Recovery Phrase
Your recovery phrase is a crucial component of your wallet's security. The Ledger device will display a 24-word recovery phrase, which you should write down on the provided recovery sheets. This phrase is the only way to recover your assets if your Ledger device is lost or damaged. Store the recovery phrase in a secure and offline location—never share it online or with anyone.
Step 4: Adding Cryptocurrency Accounts
With your device set up and recovery phrase secured, you can now add cryptocurrency accounts. In Ledger Live, navigate to the "Accounts" tab and click "Add account." Choose the cryptocurrency you want to add, and follow the instructions to sync your Ledger device with the account. You can add multiple accounts for different cryptocurrencies.
Step 5: Managing Your Assets
Once your accounts are added, you can manage your assets through Ledger Live. This includes sending and receiving cryptocurrency, checking balances, and updating your device's firmware. Always ensure your Ledger Live app and firmware are up to date to benefit from the latest security features.
Conclusion
Setting up a Ledger hardware wallet is a straightforward process that provides peace of mind by securing your digital assets. By following these steps, you ensure your cryptocurrency is stored securely, away from potential online threats. For detailed guidance and troubleshooting, visit Ledger.com/start or consult the user manual that came with your device.